How to Install Ubuntu via a Virtual Machine on Windows 7
Exploring a new operating system installation can be quite exhilarating, and the good news is that you can now do it without jeopardizing your existing setup. Whether you’re keen to delve into bash scripting, experiment with new software, or test hardware compatibility, running a Linux virtual machine (VM) is your ticket to the destination. The best part? It only takes a few minutes to get up and running.
While learning how to install Ubuntu via a Virtual Machine on Windows 7, you can also explore articles like “How to Install Etcher on Linux” to expand your knowledge of Linux software management.
Understanding Virtualization Terms and Storage Options
Before we dive in, it’s crucial to clarify some terminology. In the realm of virtualization, your existing operating system is referred to as the host OS, while the one you’re about to install is known as the guest. Simple, isn’t it? Now is also a perfect moment to decide whether you want to create a fixed-size or dynamically allocated virtual hard drive for your VM. The distinction is fairly straightforward: a fixed-size drive allocates a specific amount of storage space for the guest OS, whereas a dynamically allocated drive expands its space as required. Depending on your intended usage for the VM, you should be able to determine whether you can accurately predict the physical storage space needed. Although there are ways to address storage issues later, such as increasing a virtual disk’s capacity, it’s far more convenient to make the right choice from the outset. Ready to proceed? Let’s get started.
How to Install and Configure VirtualBox on Windows 7?
This comprehensive guide is designed to walk you through the process of installing VirtualBox on a Windows 7 system, followed by detailed steps to configure a new virtual machine within the VirtualBox environment.
Step 1: Installing VirtualBox on Windows 7
To begin the installation of VirtualBox on your Windows 7 system, follow these steps closely:
- Navigate to the official VirtualBox website at https://www.virtualbox.org/wiki/Downloads to access the download section;
- Select and download the latest version of VirtualBox specifically designed for Windows hosts (supports both x86 and amd64 architectures);
- Choose the “Save As” option to download the installation file to your computer;
- Once the download is complete, locate and run the downloaded .exe file to start the installation process;
- If a security warning appears from Windows, select “Run” to proceed;
- Follow the installation prompts, accepting the default configuration options provided by the VirtualBox installer.
Upon completing these steps, VirtualBox will launch, indicating that the installation process has been successfully completed. You are now ready to move on to the next phase, which involves setting up a new virtual machine.
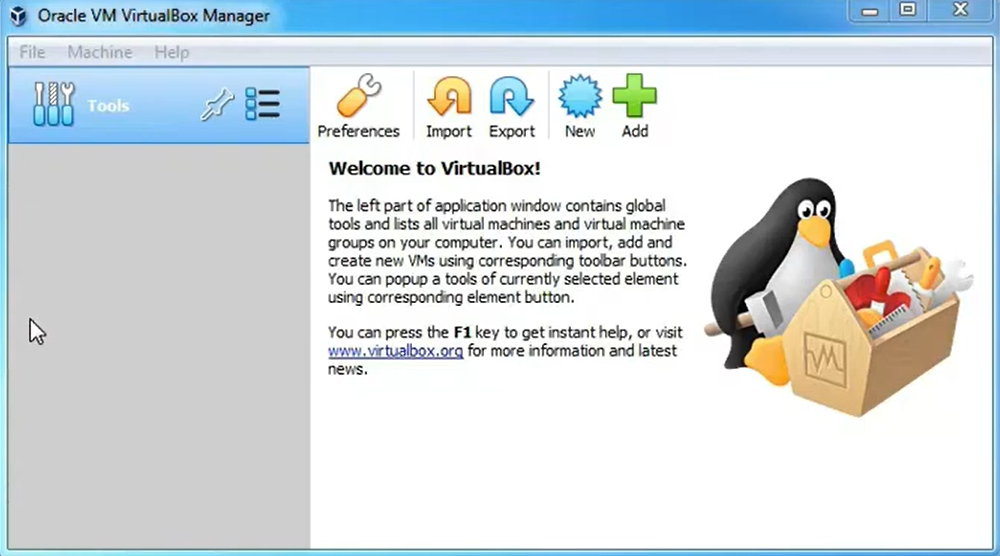
Step 2: Configuring a New Virtual Machine
With VirtualBox installed, the next step is to configure a new virtual machine (VM) to run your desired operating system. Here’s how to set it up:
- Upon finishing the installation, VirtualBox will guide you through the process of creating a new VM. If the “Create Virtual Machine” dialog does not appear automatically, click on “New” in the top left corner of the VirtualBox window;
- Start by entering a name for your VM and selecting the operating system type. For this guide, we’ll choose Linux and specify Ubuntu as the OS version;
- Next, allocate memory to your VM. The default memory size is generally sufficient for basic tasks. We recommend 512MB as a good starting point, but be mindful that allocating too much or too little memory can affect performance;
- Proceed to create a virtual hard drive where your VM’s files will reside. A Virtual Disk Image (VDI) is preferable, especially if you don’t have other VMs.
- When selecting the hard drive type, you can choose between a dynamically allocated or fixed size. If disk space is not a concern, a fixed size might offer slight performance improvements;
- Determine the amount of storage to allocate to your VM. An 8GB virtual hard drive is adequate for most purposes, but remember that the operating system will consume some of this space, so plan for at least 5GB for the OS itself;
- During the setup, you may encounter a notification regarding optical disks. You can ignore this message for now as it does not impact the initial configuration process.
Step 3: Installation of Ubuntu on the Virtual Machine
To equip your VM with Ubuntu, carefully follow the steps outlined below:
- Begin by obtaining the latest Ubuntu distribution. Visit Ubuntu’s official download page to download the most recent version. While there, you’ll have the option to contribute financially to the project—a gesture that, although optional, is highly encouraged for supporting the continued development of Ubuntu;
- If not already running, launch VirtualBox to proceed with the setup;
- Select your previously created VM, then access its “Settings” through the corresponding option;
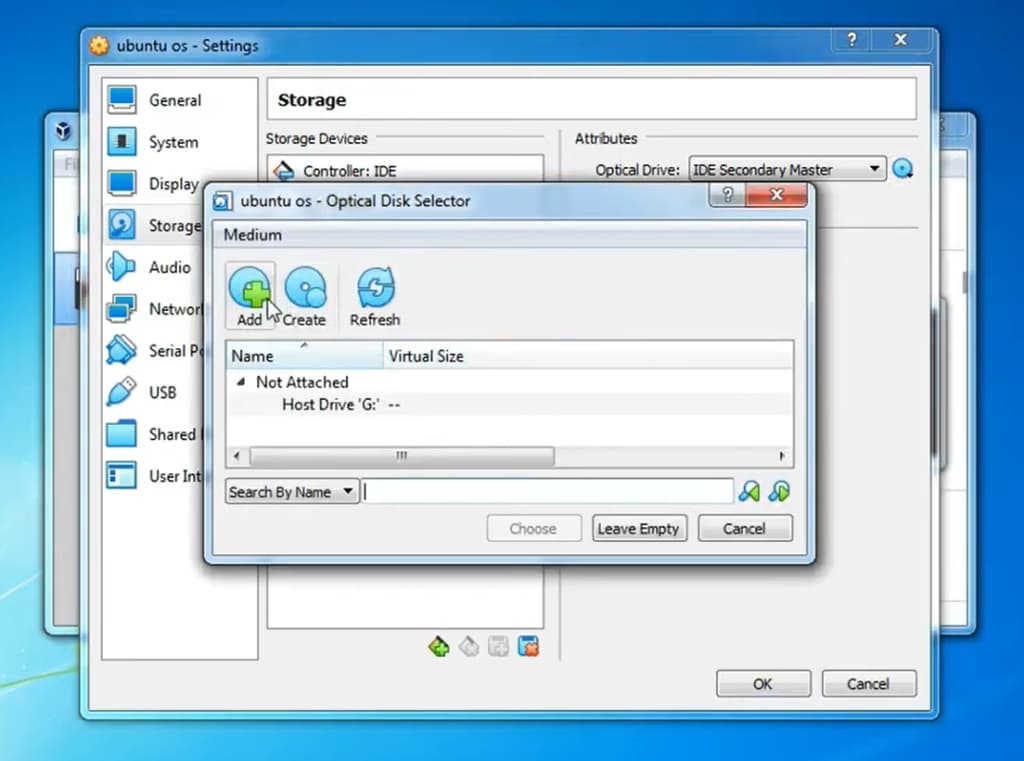
- Within the settings menu, navigate to the “Storage” section to manage your VM’s storage devices;
- In the storage tree, identify and select the disc icon labeled “Empty.” If the label differs, select the icon regardless;
- Look for a small disc icon accompanied by a downward arrow, located near the “Attributes” section on the right-hand side of the storage settings window. Click this icon to proceed;
- Use the file dialog to locate and select the Ubuntu .iso file you downloaded earlier, effectively mounting it as a virtual disc;
- Confirm your settings by clicking “OK,” which will return you to the main VirtualBox window;
- With everything set, initiate the VM by clicking “Start.”
With the Ubuntu .iso file now mounted, your VM will boot from this virtual disc, simulating the experience of booting a computer from a CD or DVD. During this phase, you’ll encounter various notifications regarding the integration and use of your mouse, keyboard, and other system resources within the VM. While informative, these messages typically don’t require any immediate action.
Step 4: Completing the Ubuntu Installation
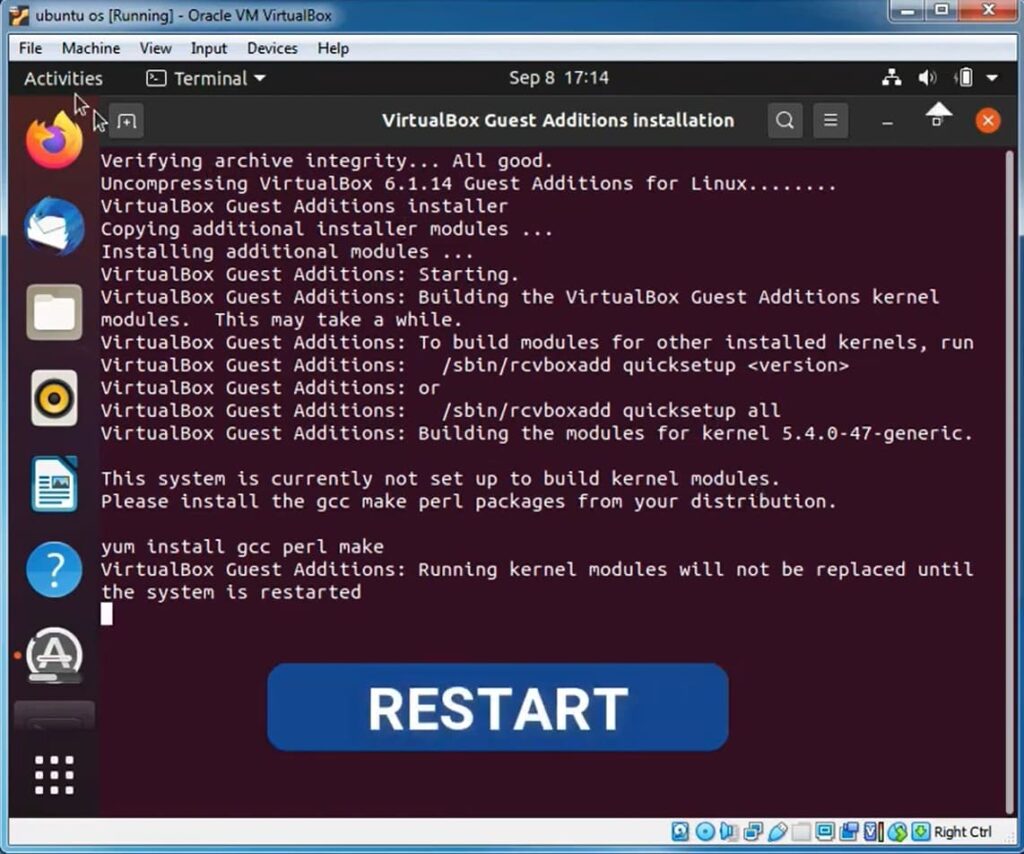
Your VM will now proceed as if it were a standalone computer:
- Follow the on-screen instructions to install Ubuntu. Given that you’re using the latest version of the OS, updating it immediately after installation may not be necessary;
- If you find yourself uncertain at any point, rely on the visual prompts provided during the installation. This phase is straightforward and marks the culmination of your setup efforts;
- Once Ubuntu is installed, shut down the VM to apply the final touches;
- Reopen the VirtualBox settings for your VM, ensuring that the IDE storage configuration is set to “Empty.” This step prevents the VM from booting into the installation setup on subsequent starts, allowing it to launch Ubuntu directly instead.
Congratulations! Your virtual machine is now equipped with Ubuntu, ready for you to explore its capabilities. Should you encounter performance issues, consider creating another VM with increased memory allocation. My personal use of Ubuntu is limited to terminal access, which requires minimal resources. However, your usage needs may vary, and adjusting the VM’s specifications accordingly can enhance your experience.