Install Nano on Linux: A Step-by-Step Tutorial
Nano is a user-friendly and lightweight text editor that is commonly used in the Linux environment. It’s perfect for quick text editing tasks and is often the go-to choice for those who prefer simplicity and efficiency. In this comprehensive guide, we’ll walk you through the steps to install Nano on various Linux distributions, provide additional details, and offer insights into its features and usage.
Why Use Nano?
Before we dive into the installation process, let’s take a moment to understand why Nano is a popular choice among Linux users:
- Simplicity: Nano is known for its straightforward and intuitive interface. It’s an ideal text editor for beginners because it doesn’t overwhelm users with a complex array of commands and options. The basic functionality is easy to grasp, making it accessible to users with minimal experience;
- Efficiency: Nano excels at quick and simple text editing tasks. Whether you need to make small changes to configuration files or jot down notes, Nano gets the job done without unnecessary distractions. It’s a lightweight option that doesn’t consume significant system resources;
- Accessibility: Nano’s keybindings and commands are displayed at the bottom of the editor, ensuring that users always have a reference for available actions. This feature is especially helpful for newcomers who may not be familiar with keyboard shortcuts.
Now that you understand the benefits of Nano, let’s proceed with the installation instructions for various Linux distributions.
Installing Nano on Debian-based Systems: How to Install Nano on Linux?
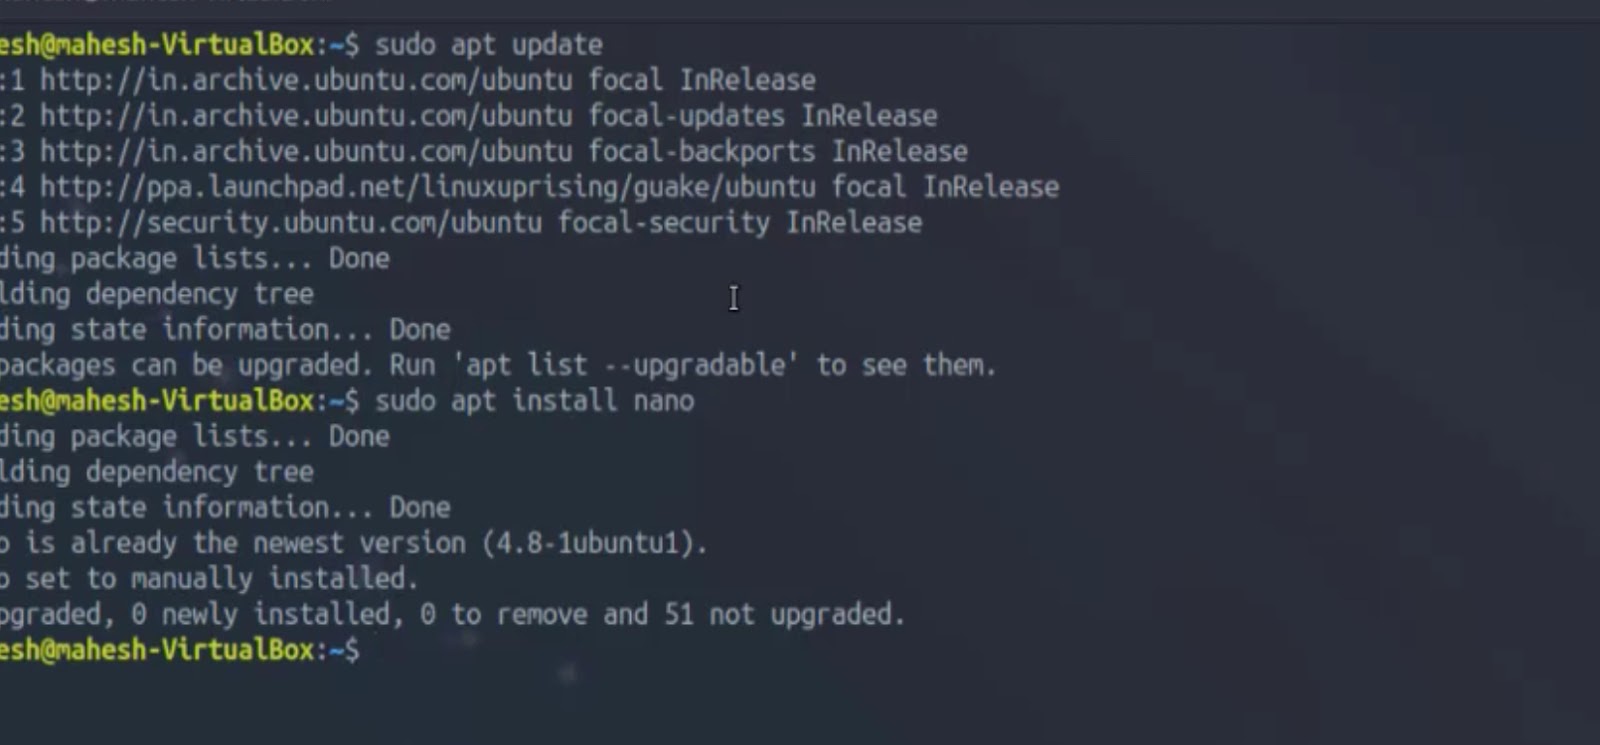
Debian-based Linux distributions like Ubuntu, Linux Mint, and Debian itself make use of the `apt` package manager. To install Nano, open a terminal and follow these steps:
- Update your package list to ensure you have the latest information about available packages:

- Install Nano using the following command:

- After the installation is complete, you can open Nano by simply typing `nano` in the terminal. Nano’s user-friendly interface will appear, ready for you to start editing text.
Installing Nano on Red Hat-based Systems: How to Install Nano on Linux?
For Linux distributions based on Red Hat, such as Fedora and CentOS, you can use the `dnf` package manager to install Nano:
- Update your package list:

- Install Nano:

- Nano is now installed and ready to use. You can launch it by typing `nano` in the terminal.
Installing Nano on Arch Linux: How to Install Nano on Linux?
Arch Linux users can enhance their terminal editing capabilities by installing Nano, a straightforward and user-friendly text editor, utilizing the `pacman` package manager. This process involves a couple of simple commands.
Firstly, it’s essential to ensure that your package database is up-to-date. This step is crucial for maintaining system integrity and ensuring that you install the latest versions of software available. To update your package database, you can execute the following command in the terminal:
```bash
sudo pacman -Sy
```
This command requires administrative privileges, hence the use of `sudo`. It synchronizes your local package database with the repositories defined in your system’s configuration, effectively preparing your system for the installation of new packages.
Following the update, you can proceed to install Nano. Nano is renowned for its ease of use, making it an excellent choice for both novice and experienced users. To install Nano, use the command:
```bash

sudo pacman -S nano

```
Again, this command will require administrative privileges to execute. The `-S` option tells `pacman` to install the specified package, in this case, Nano. This command will fetch Nano from the repository and install it on your system.
Once the installation is complete, Nano will be available for use on your system. You can start Nano by simply typing `nano` in the terminal. This launches the text editor, ready for you to begin editing files or creating new ones. Nano’s intuitive interface and simple command structure make it an ideal choice for quick edits or longer coding sessions, bridging the gap between functionality and user-friendliness in command-line text editing.
Verifying Nano Installation
To ensure that Nano was successfully installed, you can open it and check the version:
```bash

nano --version

```
This command will display Nano’s version information if the installation was successful. It’s a good practice to verify the installation to avoid any potential issues.
Nano Features and Basic Usage
Now that you have Nano installed, let’s explore some of its essential features and how to use them:
Opening Files
To open a file with Nano, simply type:
```bash

nano filename

```
Replace `filename` with the name of the file you want to edit. If the file doesn’t exist, Nano will create a new one with that name.
Saving and Exiting
Upon mastering the installation and startup of Nano, users will find its functionality further complemented by straightforward file management commands. To ensure your work is not lost, Nano provides a simple mechanism for saving changes. By pressing `Ctrl` + `O`, the editor will prompt you to confirm or modify the file name; pressing `Enter` will then save your progress. This feature underscores Nano’s commitment to efficiency and user-friendliness.
Exiting Nano is equally intuitive. By pressing `Ctrl` + `X`, you initiate the exit process. Should you attempt to exit with unsaved changes, Nano thoughtfully prompts you to save your work, safeguarding against accidental data loss. This prompt to save before exiting ensures that users have a chance to retain their edits, making Nano an ideal choice for editing tasks where changes might be frequent and the risk of forgetting to save is high. Through these features, Nano demonstrates its utility as a versatile text editor, balancing simplicity with the robust functionality needed for effective file management and editing on Linux systems.
Navigation
- Use the arrow keys to navigate within the text;
- Page up and page down can be accessed using `Ctrl` + `V` and `Ctrl` + `Y`, respectively;
- To jump to a specific line, press `Ctrl` + `_` (underscore), enter the line number, and press `Enter`.
Copying and Pasting
- To copy text, position the cursor at the start of the text you want to copy, press `Ctrl` + `Shift` + `6` (caret symbol), move the cursor to the end of the selection, and press `Alt` + `6`;
- To paste text, position the cursor where you want to insert the copied text and press `Ctrl` + `U`.
Search and Replace
- To search for text, press `Ctrl` + `W`, enter the search term, and press `Enter`. Nano will highlight the first occurrence, and you can use `Ctrl` + `W` to find the next occurrence;
- To replace text, press `Ctrl` + `\`, enter the search term, enter the replacement text, and press `A` to replace all occurrences or `Y` to confirm each replacement.
Configuring Nano
Nano can be customized to suit your preferences. Configuration files are typically located in the user’s home directory, such as `~/.nanorc`. You can add custom keybindings, syntax highlighting, and more by editing this file.
Nano is a versatile and user-friendly text editor that simplifies text editing tasks on Linux. Whether you’re a beginner looking for an easy-to-use editor or an experienced user in need of a lightweight solution, Nano is a valuable addition to your Linux toolbox. By following the installation instructions provided in this guide and mastering its basic features, you’ll be well-equipped to efficiently edit text files in a Linux environment. Enjoy the simplicity and effectiveness of Nano as you streamline your text editing workflow.