Installing Yum on Linux: A Quick Tutorial
Greetings, everyone! Today, we embark on a journey to explore the installation process of a Linux utility that holds immense value – none other than “YUM”!
How to Install Yum on Linux: Step 1: Access the Command Line Interface (CLI)
To embark on your journey of managing packages on your Linux system effectively, the first step is to open a terminal window. This portal to the inner workings of your system can be summoned with a few simple keystrokes or clicks:
- Keystroke Shortcut: On most Linux distributions, you can swiftly access the terminal by simultaneously pressing Ctrl + Alt + T. This keyboard shortcut acts as a secret passage to the command line, granting you the power to interact directly with your system;
- Application Launcher: Alternatively, you can also navigate to your desktop environment’s application launcher. Once there, search for the term “terminal” to find the gateway to your Linux system’s heart.
Now that you have the terminal at your fingertips, let’s dive into the next step.
How to Install Yum on Linux: Step 2: Confirm the Presence of YUM Package Manager
Before we proceed any further, it’s crucial to ascertain whether your Linux system is already equipped with the YUM package manager. This package manager is a powerful tool for handling software installations, updates, and removals. To check if YUM is readily available, execute the following command within your terminal:
yum --versionThis command serves as your compass, guiding you to either confirmation or action. Here’s what to expect:
- YUM Version Information: If YUM is indeed present, the terminal will graciously provide you with its version details. This confirmation signifies that you’re ready to harness the capabilities of YUM for managing software packages effectively;
- Error Message (Command Not Found): In the unfortunate event that YUM is not installed, the terminal will respond with an error message, indicating that the command cannot be found. This is an opportunity to proceed to the next phase, where we’ll discuss how to install YUM, ensuring that your system is well-equipped for package management adventures.
How to Install Yum on Linux: Step 3: Keeping Your System Up-to-Date with YUM Package Manager
To embark on your journey with YUM (Yellowdog Updater Modified), it’s essential to ensure that your system’s package manager is up-to-date. This step is vital as it ensures that you have access to the most current information about the available software packages and their dependencies. Keeping your package manager current not only guarantees the smooth functioning of YUM but also enhances the overall security and performance of your system.
Here’s how you can update your package manager:
sudo yum update
Updating the package manager with this command will refresh the list of available packages, ensuring that you’re always working with the latest software options and their corresponding requirements. Also, discover the effortless way to install Brave on Linux and supercharge your web experience. Say goodbye to browser woes today!
How to Install Yum on Linux: Step 4: Acquiring YUM – The RPM Way
YUM, the versatile package manager for Red Hat-based Linux distributions, comes in the form of RPM (Red Hat Package Manager) packages. To get started with YUM, you’ll need to download the appropriate RPM package that matches your system’s architecture. This step is crucial as it sets the stage for installing and using YUM to manage your software packages effectively.
Follow these steps to download the YUM RPM package:
- Visit the official YUM repository at https://yum.baseurl.org/download/3.4/yum-3.4.3.tar.gz;
- Identify your system’s architecture (e.g., 32-bit or 64-bit) to ensure you download the correct RPM package. You can usually find this information in your system’s documentation or by running a simple command like uname -m;
- Once you’ve determined your system’s architecture, use the appropriate command to download the RPM package. For example, if you are using a 64-bit system, use the following command:
wget https://yum.baseurl.org/download/3.4/yum-3.4.3-168.el8.noarch.rpmEnsure that you replace the URL with the latest version if available. Staying up-to-date with the latest version is essential to access new features and security enhancements.
How to Install Yum on Linux: Step 5: Installing YUM Using RPM
After successfully obtaining the YUM RPM package, it’s time to seamlessly integrate this powerful package manager into your Linux system. The process is straightforward and can be accomplished with a few simple commands. Here’s how:
- Open your terminal, and ensure you have administrative privileges;
- Navigate to the directory where you’ve saved the YUM RPM package. If you’re not sure, you can typically find it in your “Downloads” folder;
- Install YUM by using the rpm command. This command will install YUM on your system, making it available for package management tasks.
sudo rpm -ivh yum-3.4.3-168.el8.noarch.rpm
Now, let’s dive into some essential insights and recommendations for this step:
- Make sure to replace “yum-3.4.3-168.el8.noarch.rpm” with the actual filename if it’s different in your case;
- Always double-check that you have administrative privileges (via ‘sudo’) to avoid any permission issues during the installation process;
- Keep the RPM package in a location that is easily accessible, such as your home directory or a dedicated folder for software packages;
- To get the most out of YUM, it’s advisable to regularly update your repositories and packages. You can achieve this using the ‘yum update’ command after installation.
How to Install Yum on Linux: Step 6: Verifying YUM Installation
Now that you’ve successfully installed YUM, it’s crucial to ensure everything is in working order before diving into package management tasks. Verification is key, and you can do it in a snap:
Open your terminal. To confirm that YUM has been successfully installed, simply check its version by running the following command:
yum --versionUpon executing this command, you should see version information displayed, indicating that YUM is now installed and ready to be your trusted package manager on your Linux system.
Unlocking the Power of YUM: Installing Packages with Dependencies
When it comes to managing packages on RedHat-based Linux distributions, YUM (Yellowdog Updater, Modified) reigns supreme. One of its standout features is its ability to seamlessly handle package dependencies, making your life as a Linux enthusiast or system administrator significantly easier. In this comprehensive guide, we’ll delve into the world of YUM and show you how to install packages effortlessly, along with all their dependencies.
Why YUM Stands Out
YUM is a robust, high-level package management tool specifically designed for RedHat-based Linux distributions like CentOS and Fedora. What sets it apart is its remarkable capacity to automatically resolve and install package dependencies. This means you no longer need to worry about manually tracking and installing each required component; YUM handles it all for you.
Installing Packages with Dependencies: The YUM Way
Let’s get down to the nitty-gritty of installing packages with dependencies using YUM. Follow these steps to ensure a smooth installation process:
- Open your terminal: Launch your terminal emulator on your RedHat-based system;
- Use the YUM command: The syntax for installing a package with all its dependencies using YUM is as follows:
sudo yum install <package name>
Remember to replace <package name> with the actual name of the package you want to install.
- Hit Enter: Once you’ve entered the command, hit Enter to execute it. YUM will take care of the rest, fetching the specified package along with any dependencies required for it to function correctly;
- Sit Back and Relax: YUM will analyze the dependencies, download them from the appropriate repositories, and install everything seamlessly. You’ll receive progress updates in your terminal as YUM works its magic.
For Debian-Based Systems: APT Comes to the Rescue
If you’re on a Debian-based system such as Ubuntu, the package manager of choice for installing packages with dependencies is APT (Advanced Package Tool). Here’s how to do it:
- Open your terminal: Launch your terminal emulator on your Debian-based system;
- Deploy APT: Use the APT command with the following syntax:
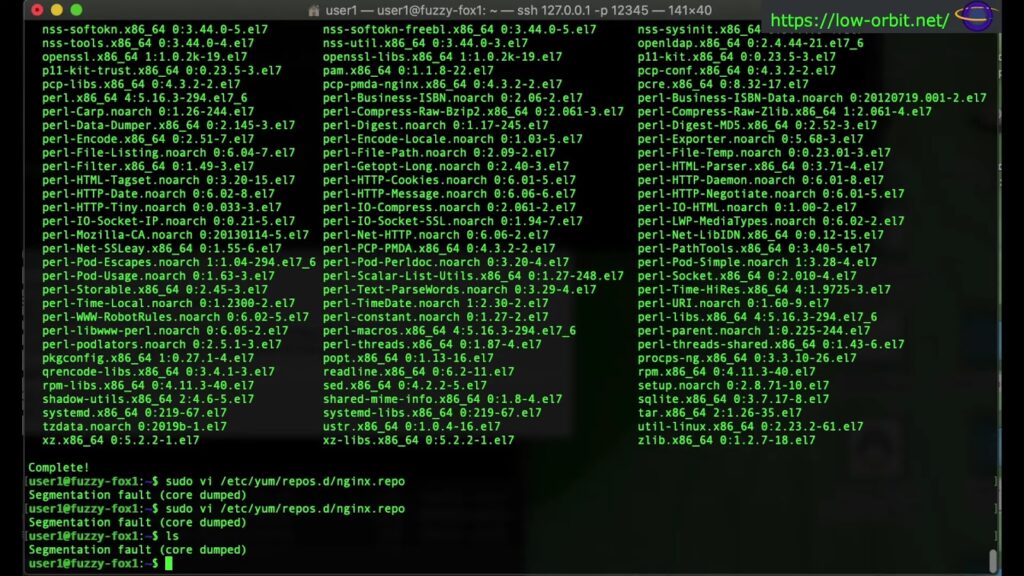
sudo apt install <package name>Just like with YUM, replace <package name> with the name of the package you wish to install.
Execute the Command: Press Enter to execute the command. APT will now take care of downloading and installing the specified package and its dependencies.
Troubleshooting Common ‘yum’ Command Issues
Yum, the trusty package manager for many Linux distributions, is a powerful tool for installing and managing software packages. However, even the most reliable tools can occasionally throw a wrench into your system’s gears. In this comprehensive guide, we’ll explore some of the most common issues you might encounter when using ‘yum’ and provide detailed solutions to ensure smooth sailing in your Linux journey.
1. ‘yum’ Command Not Found
If you ever encounter the dreaded ‘yum: command not found’ error, it’s like a treasure hunt gone awry; ‘yum’ is either not installed or not in your system’s PATH. To unearth ‘yum,’ follow these steps:
Open your terminal and type:
which yumThis command will unearth the hidden path to the ‘yum’ executable if it’s installed. The output should reveal ‘/usr/bin/yum.’ If it returns nothing but an eerie silence, you’ll need to install ‘yum.’
Pro Tip: If ‘yum’ is not installed, consider using ‘dnf’ on more recent versions of Fedora-based distributions.
2. Dependency Resolution Errors
Ah, the notorious dependency issues – a common thorn in the side of package managers. Imagine trying to build a tower of cards without a solid foundation; that’s what happens when ‘yum’ encounters a dependency error like this:
sudo yum install some-package

# Output:

# Error: Package: 1:some-package-1.2.3-4.el7.x86_64 (epel)

#            Requires: libexample.so.0()(64bit)
This error implies that ‘some-package’ relies on the ‘libexample.so.0’ library, but it’s either missing or not accessible. To untangle this web of dependencies, follow these steps:
First, find the package that provides ‘libexample.so.0’ using:
sudo yum whatprovides libexample.so.0Armed with the knowledge of which package provides the missing library, you can install it with ‘yum’:
sudo yum install libexamplePro Tip: To avoid dependency issues altogether, consider using containerization technologies like Docker or Flatpak, which encapsulate dependencies with the application.
3. Repository Errors
When you see errors like ‘Cannot retrieve repository metadata,’ it’s like hitting a roadblock during a cross-country journey. These issues may arise from network hiccups or repository troubles. Here’s a route to navigate through this problem:
Try cleaning the ‘yum’ cache with this command:
sudo yum clean allPro Tip: If you’re facing persistent repository issues, consider switching to alternative repositories, such as EPEL or RPM Fusion, or configuring ‘yum’ to use a nearby mirror for faster access.