
Guide to Installing Proton on Linux
Are you a Linux user who loves to play games on Steam? If so, then you may have encountered some compatibility issues when trying to run Windows-only games on your Linux system. But fear not, because Proton is here to save the day! Proton is a compatibility layer that allows Linux users to play Windows games on their systems without the need for dual-booting or virtual machines. In this blog post, we will guide you through the process of installing Proton on your Linux system, so you can enjoy all your favorite games hassle-free.
How do I install Proton on Linux System?
Before we dive into the installation process, let’s first understand what Proton is and how it works. Proton is a tool developed by Valve, the company behind Steam, which uses Wine (a compatibility layer for running Windows applications on Linux) and other open-source technologies to enable Windows games to run on Linux. This means that you can now play thousands of games that were previously only available for Windows on your Linux system.
Now, let’s get started with the installation process. The steps may vary slightly depending on your Linux distribution, but the overall process remains the same.
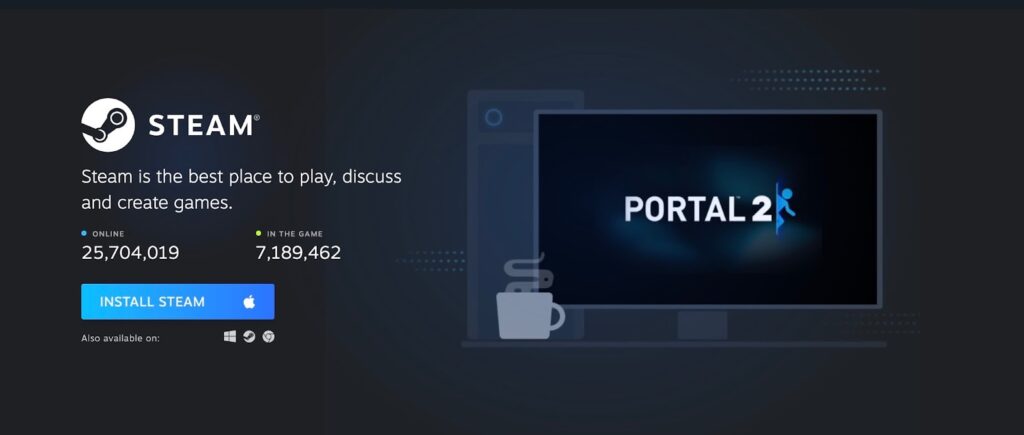
Step 1: Install Steam
The first step is to install Steam on your Linux system if you haven’t already. Steam is a digital distribution platform for video games, and it is required to use Proton. To install Steam, go to the official website and download the appropriate package for your Linux distribution. Once downloaded, follow the instructions to complete the installation.
Step 2: Enable Steam Play
After installing Steam, open it and log in to your account. Then, go to the “Steam” menu and click on “Settings.” In the settings window, navigate to the “Steam Play” tab and check the box next to “Enable Steam Play for all other titles.” This will enable Proton on your system.
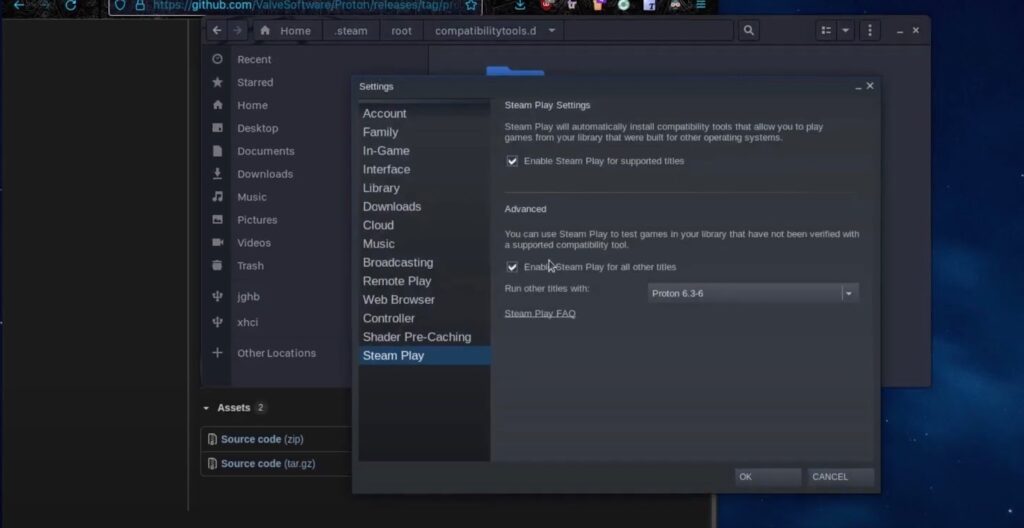
Step 3: Install Proton
Now, go to the “Steam” menu and click on “Settings” again. This time, navigate to the “Steam Play” tab and click on the “Advanced” button. Here, you will see a list of compatibility tools available for use with Steam Play. Look for “Proton” in the list and click on the checkbox next to it to install it. Once installed, click on “OK” to save the changes.
Congratulations! You have successfully installed Proton on your Linux system. Now, let’s move on to the next section to learn how to get started with Proton.
Getting Started with Proton for Linux: A Beginner’s Guide
Now that you have Proton installed on your Linux system, let’s explore how to use it to play Windows games on your system. The process is straightforward, and you will be playing your favorite games in no time.
Step 1: Check Compatibility
Before purchasing or installing a game, it is essential to check its compatibility with Proton. Not all games are compatible with Proton, and some may require additional tweaks to run correctly. To check compatibility, go to the official ProtonDB website and search for the game you want to play. The website will show you the compatibility rating and any known issues with the game.
Step 2: Enable Steam Play for the Game
If the game is compatible with Proton, go to the game’s store page on Steam and click on the “Play” button. If this is the first time you are running a Windows-only game on your Linux system, Steam will prompt you to confirm that you want to enable Steam Play for the game. Click on “Enable Steam Play for this title,” and Steam will automatically download and install the necessary components to run the game.
Step 3: Launch the Game
Once the installation is complete, click on “Play” again, and the game will launch. If everything goes well, you should now be able to play the game on your Linux system without any issues. However, if you encounter any problems, refer to the ProtonDB website for possible solutions.
How can You install Proton on Linux to unleash the power of Steam gaming?
Now that you know how to install and use Proton on your Linux system let’s explore some of its features and benefits in more detail.
Enhanced Compatibility
Proton has been designed to provide seamless compatibility between Windows games and Linux systems. With its use of Wine and other open-source technologies, Proton can run a wide range of games without any issues. This means that you no longer have to miss out on popular titles just because they are not available for Linux.
Easy to Use
One of the best things about Proton is that it is effortless to use. Once installed, all you need to do is enable Steam Play for the game you want to play, and Proton will take care of the rest. This makes it an excellent option for both beginner and advanced Linux users.
Constant Updates
Valve is continuously working on improving Proton and adding new features. This means that you can expect regular updates and bug fixes, ensuring that your gaming experience remains smooth and hassle-free.
Proton on Linux: A Detailed Installation Guide for Linux Users
If you are a Linux user who loves to tinker with your system, then you may want to install Proton manually instead of using the Steam client. This section will guide you through the process of installing Proton from source.
Step 1: Install Dependencies
Before you can compile Proton, you need to install several dependencies. These include Git, Python, GCC, and various development libraries. The exact packages you need to install may vary depending on your Linux distribution, so make sure to check the official Proton GitHub page for a complete list of dependencies.
Step 2: Download Proton Source Code
Next, you need to download the Proton source code from the official GitHub repository. You can either clone the repository using Git or download the ZIP file and extract it.
Step 3: Compile Proton
Once you have downloaded the source code, navigate to the directory where it is located and run the following command:
./proton_build.sh This will start the compilation process, which may take some time depending on your system’s specifications.
Step 4: Install Proton
After the compilation process is complete, navigate to the “dist” directory and run the following command to install Proton:
./install.shThis will install Proton on your system, and you can now use it with Steam.
How do I install Proton on Linux?
If you are not comfortable with compiling software from source, you can also use a third-party tool called ProtonUp to install Proton on your Linux system. ProtonUp is a simple script that automates the installation process and makes it easier for users who are not familiar with the command line.
To use ProtonUp, follow these steps:
- Download the ProtonUp script from the official GitHub repository;
- Open a terminal and navigate to the directory where the script is located;
- Run the following command to make the script executable:
chmod +x protonup.sh- Finally, run the script using the following command:
./protonup.sh The script will guide you through the installation process, and once completed, Proton will be installed on your system.

Installing Proton for Linux: Achieving Seamless Compatibility
With the help of Proton, playing Windows games on Linux has become easier than ever. However, there may still be some games that do not work correctly or have performance issues. In this section, we will explore some tips and tricks to achieve seamless compatibility with Proton.
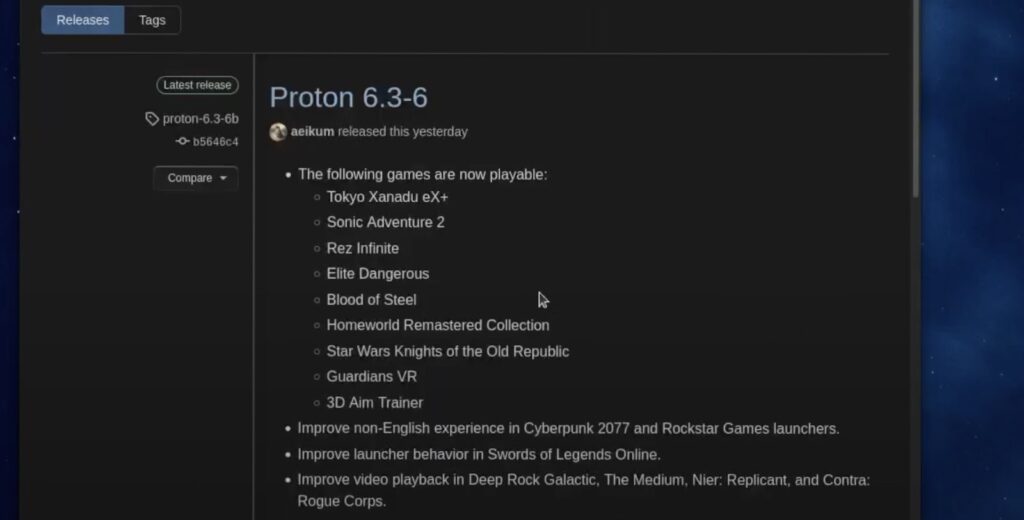
Use the Latest Version of Proton
Valve is continuously working on improving Proton, so it is always recommended to use the latest version available. This will ensure that you have access to all the latest features and bug fixes.
Keep Your Graphics Drivers Up to Date
Having the latest graphics drivers installed is crucial for gaming on Linux, especially when using Proton. Make sure to regularly check for updates and install them to improve game performance and compatibility.
Enable Steam Play’s “Force the use of a specific Steam Play compatibility tool” Option
As mentioned earlier, this option can be used to force Steam Play to use a different compatibility tool instead of Proton. If you encounter any issues with a game, try enabling this option and selecting a different compatibility tool to see if it improves compatibility.
How can Proton for Linux enhance gaming performance?
In this final section, we will provide a step-by-step guide for installing Proton on some of the most popular Linux distributions.
Ubuntu/Debian
- Open a terminal and run the following command to add the official Valve repository:
sudo add-apt-repository multiverseUpdate your package list by running the following command:
sudo apt updateInstall Steam using the following command:
sudo apt install steamLaunch Steam and log in to your account.
- Go to “Steam” > “Settings” > “Steam Play” and enable Steam Play for all other titles;
- Click on “OK” to save the changes;
- Go to “Steam” > “Settings” > “Steam Play” > “Advanced” and enable Proton by clicking on the checkbox next to it;
- Click on “OK” to save the changes;
- You have now successfully installed Proton on your Ubuntu/Debian system.
Arch Linux/Manjaro
- Open a terminal and run the following command to install Steam:
sudo pacman -S steam
Launch Steam and log in to your account.
- Go to “Steam” > “Settings” > “Steam Play” and enable Steam Play for all other titles;
- Click on “OK” to save the changes;
- Go to “Steam” > “Settings” > “Steam Play” > “Advanced” and enable Proton by clicking on the checkbox next to it;
- Click on “OK” to save the changes;
- You have now successfully installed Proton on your Arch Linux/Manjaro system.
Fedora
- Open a terminal and run the following command to add the RPM Fusion repository:
sudo dnf install https://download1.rpmfusion.org/free/fedora/rpmfusion-free-release-$(rpm -E %fedora).noarch.rpm https://download1.rpmfusion.org/nonfree/fedora/rpmfusion-nonfree-release-$(rpm -E %fedora).noarch.rpmInstall Steam using the following command:
sudo dnf install steam
- Launch Steam and log in to your account;
- Go to “Steam” > “Settings” > “Steam Play” and enable Steam Play for all other titles;
- Click on “OK” to save the changes;
- Go to “Steam” > “Settings” > “Steam Play” > “Advanced” and enable Proton by clicking on the checkbox next to it;
- Click on “OK” to save the changes;
- You have now successfully installed Proton on your Fedora system.