Kali Linux Installation on Raspberry Pi 2 Tutorial
The Raspberry Pi 2 is a remarkable miniature computer with significant capabilities, and it has gained immense popularity among tech enthusiasts and hobbyists worldwide. Its versatility makes it ideal for a wide range of projects, from DIY home automation to gaming and, most importantly, cybersecurity experiments.
In this guide, we will walk you through the process of installing Kali Linux on a Raspberry Pi 2. Kali Linux is a specialized Linux distribution designed for penetration testing, ethical hacking, and digital forensics. It comes equipped with a vast array of security tools, making it a valuable choice for security enthusiasts and professionals.
In the following sections, we will provide step-by-step instructions, along with helpful visuals, to ensure a smooth installation process. Whether you’re a beginner looking to explore cybersecurity or an experienced user, this guide will help you set up Kali Linux on your Raspberry Pi 2.
Prerequisites
Before we dive into the installation process, let’s ensure you have everything you need to get started. Here are the prerequisites:
Hardware:
- Raspberry Pi 2: You’ll need the Raspberry Pi 2 board, which you can purchase online or at electronics stores;
- MicroSD Card: A minimum 16GB MicroSD card is recommended for Kali Linux installation;
- Power Supply: Ensure you have a compatible power supply for your Raspberry Pi 2;
- Keyboard and Mouse (optional): You may need these peripherals for initial setup;
- Monitor or TV: To display the Raspberry Pi’s interface.
Software:
- Kali Linux Image: Download the appropriate Kali Linux image for Raspberry Pi 2 from the official website.
Prior Knowledge:
- Basic familiarity with using Linux commands can be helpful but is not mandatory.
Make sure you have all these components ready before proceeding. You can find Raspberry Pi 2 and MicroSD card options online or at your local electronics store. Now that you have everything in place, let’s proceed with the installation.
How to Install Kali Linux on Raspberry Pi 2? Download Kali Linux
To start, you’ll need to download the Kali Linux image specifically tailored for the Raspberry Pi 2. Follow these steps to download it:
- Visit the official Kali Linux website at https://www.kali.org/downloads/;
- Navigate to the “Kali Linux Raspberry Pi 2” section and select the appropriate image based on your Raspberry Pi 2 model;
- Click on the download link to begin the download. Make sure to choose the latest version available for better compatibility and security features;
- Wait for the download to complete. The file size may vary, so the download time will depend on your internet connection;
Once the download is finished, you’re ready to move on to preparing the MicroSD card.
Prepare the MicroSD Card
Before inserting the MicroSD card into your Raspberry Pi 2, you need to make sure it’s properly formatted and has the Kali Linux image flashed onto it. Here’s how to do it:
- Choose a Compatible MicroSD Card: Ensure your MicroSD card is compatible with the Raspberry Pi 2. A minimum 16GB card is recommended for a smooth experience;
- Format the MicroSD Card: Use a formatting tool like SD Card Formatter (available for Windows and macOS) to format the MicroSD card. Formatting is essential to ensure it’s clean and ready for the Kali Linux image;
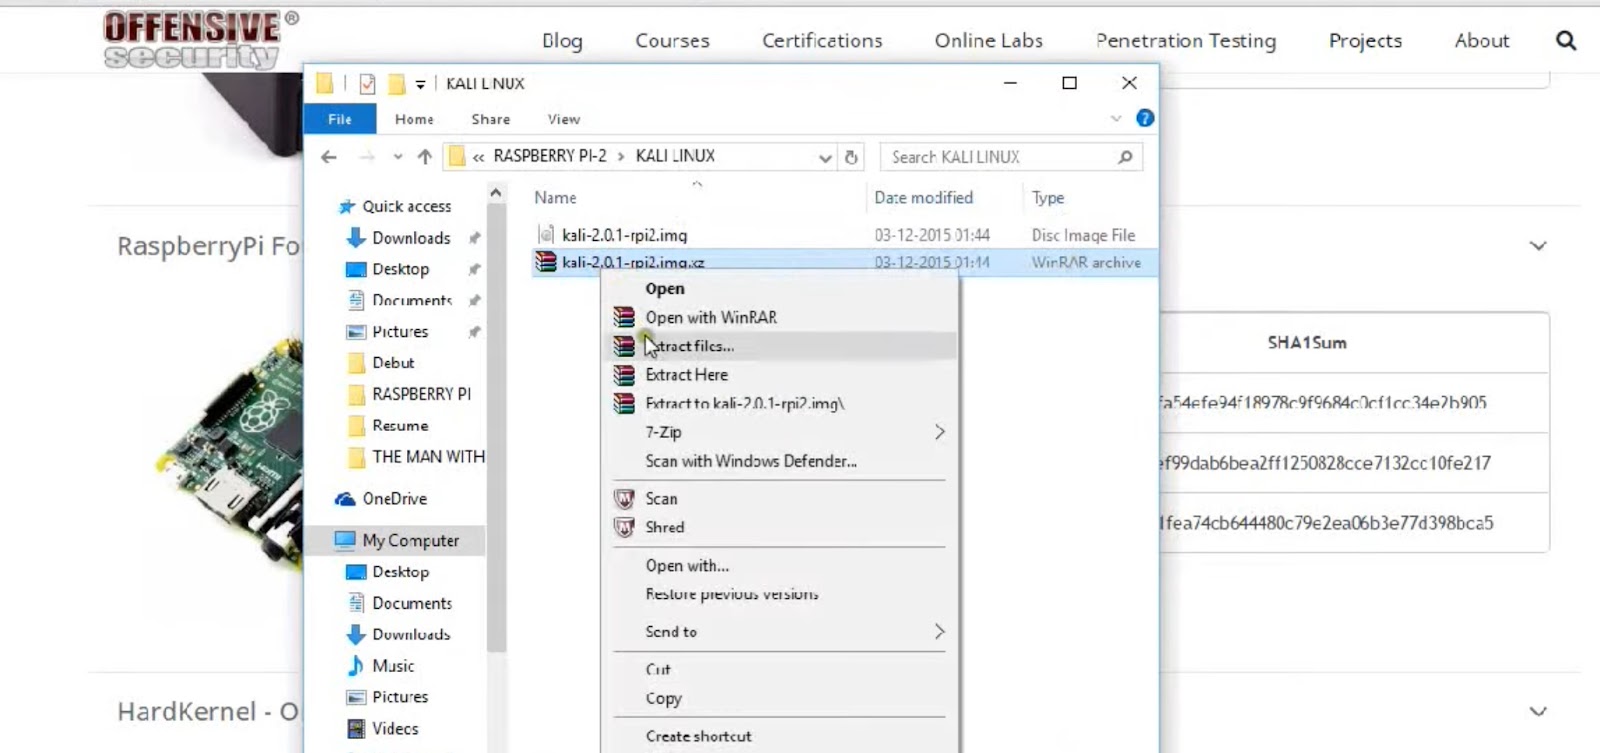
- Flash the Kali Linux Image: You can use software like Etcher (available for Windows, macOS, and Linux) or the `dd` command (on Linux) to flash the Kali Linux image onto the MicroSD card. Follow the specific instructions for the tool you choose.
Flashing the image may take some time, so be patient. Once it’s done, you can proceed to insert the MicroSD card into your Raspberry Pi 2.
Insert the MicroSD Card: How to Install Kali Linux on Raspberry Pi 2?
With the MicroSD card prepared and loaded with the Kali Linux image, you’re now ready to insert it into your Raspberry Pi 2. Follow these steps:
- Power off your Raspberry Pi 2 if it’s already on;
- Locate the MicroSD card slot on your Raspberry Pi 2. It’s typically on the bottom side of the board;
- Carefully insert the MicroSD card into the slot, making sure it’s properly seated;
- Once the card is in place, you’re ready to connect any necessary peripherals, such as a USB keyboard, mouse, and HDMI monitor or TV.
Your Raspberry Pi 2 is now physically prepared for the installation process. Next, let’s power it on and proceed with the setup.
Boot Up the Raspberry Pi 2
Powering on your Raspberry Pi 2 is the next step in the installation process. Follow these instructions:
- Connect your Raspberry Pi 2 to a power source using the compatible power supply;
- The initial boot sequence will begin. You might see various messages and prompts on the connected monitor or TV. This is normal;
- Depending on the Kali Linux version you downloaded, you may be asked to configure some initial settings. Follow the on-screen instructions to set your language, keyboard layout, and time zone;
- Patience is key during this step. The initial boot may take a few minutes as the system configures itself.
Once the initial configuration is complete, you’ll be prompted to set up a username and password for your Kali Linux installation.
Initial Configuration: How to Install Kali Linux on Raspberry Pi 2?
During the initial configuration of your Kali Linux installation on Raspberry Pi 2, you’ll need to follow these steps:
- Set Username and Password: Create a strong username and password for your Kali Linux system. Remember to keep these credentials secure;
- Software Packages: You’ll have the option to select additional software packages to install. Depending on your needs, you can customize this selection;
- Updates: Be sure to check for updates and install them during the initial setup. This ensures you have the latest security patches and improvements;
Follow the prompts and make your choices accordingly. Once the initial configuration is complete, the installation process will commence.
Installing Kali Linux
The installation process itself is relatively straightforward, but there are some important decisions to make. Here’s how to proceed:
- Review Installation Options: During installation, you’ll have the opportunity to make some crucial decisions. Pay attention to the installation destination (the MicroSD card) and partitioning options. Most users can stick with the default settings;
- Customization (Optional): If you have specific requirements or want to customize your installation, explore the advanced options. For most users, the default settings are suitable;
- Confirm Installation: Before proceeding, review your choices to ensure they are correct. Once you’re satisfied, confirm the installation. The process may take some time, so have patience.
After the installation is complete, you’ll be prompted to reboot your Raspberry Pi 2.
First Boot into Kali Linux
To complete the installation process, your Raspberry Pi 2 will need to be rebooted. Here’s what to do:
- Remove any installation media, such as the MicroSD card, from the Raspberry Pi 2;
- Power cycle your Raspberry Pi 2 by disconnecting and then reconnecting the power supply;
- As the system boots up, you may see welcome messages or post-installation instructions. Read and follow any on-screen guidance.
Congratulations! You’ve successfully installed Kali Linux on your Raspberry Pi 2. Now, let’s proceed with some essential post-installation tasks.
What about Post-Installation Tasks?
After the first boot into Kali Linux, there are a few crucial post-installation tasks to ensure your system is up to date and properly configured:
- Update System: Open a terminal and run `sudo apt update` followed by `sudo apt upgrade` to update the system and install any pending updates;
- Network Configuration: Set up your wireless network if you haven’t already. You can use the built-in network manager or command-line tools for this;
- Configure Wi-Fi Settings: If necessary, update your Wi-Fi settings by clicking on the network icon in the taskbar.
With these tasks completed, your Kali Linux installation on Raspberry Pi 2 is ready for use. Remember to use Kali Linux responsibly for ethical and legal purposes.
Installing Kali Linux on a Raspberry Pi 2 opens up a world of possibilities for cybersecurity enthusiasts and professionals. This combination offers a portable, affordable, and versatile platform for various security-related tasks, from penetration testing to network monitoring. We’ve covered the entire installation process in this guide, from downloading the Kali Linux image to configuring your system. Remember to stay responsible and ethical in your use of Kali Linux, respecting privacy and legality at all times.
Now that you’ve successfully installed Kali Linux, take some time to explore the vast array of security tools and resources it offers. Continue learning and enhancing your skills in the exciting field of cybersecurity.