Install PostgreSQL on Linux: Step-by-Step Guide
PostgreSQL, commonly known as “Postgres,” stands as a formidable and freely available relational database management system (RDBMS), renowned for its unwavering resilience, adaptable nature, and capacity for expansion. Developers and enterprises alike frequently employ it to proficiently oversee and safeguard their data.
If you find yourself utilizing a Linux-based operating system and harbor intentions of implementing PostgreSQL, this comprehensive guide shall escort you through the intricate process, elucidating each step with precision.
Within this instructional guide, we shall delve into the intricacies of PostgreSQL installation on three eminent Linux distributions, namely Ubuntu, CentOS, and Debian. Furthermore, we will delve into the essential post-installation procedures to facilitate your initial foray into the realm of PostgreSQL.
How to Install Postgresql on Different Linux Distributions?
PostgreSQL, the powerful open-source relational database management system, is a critical tool for developers and database administrators alike. If you’re running a Linux distribution, such as Ubuntu, CentOS, or Debian, you can easily install PostgreSQL to supercharge your data management capabilities. Each distribution has its own set of commands and steps for installation, so let’s dive into the details of how to do it on each of them.
Installing PostgreSQL on Ubuntu
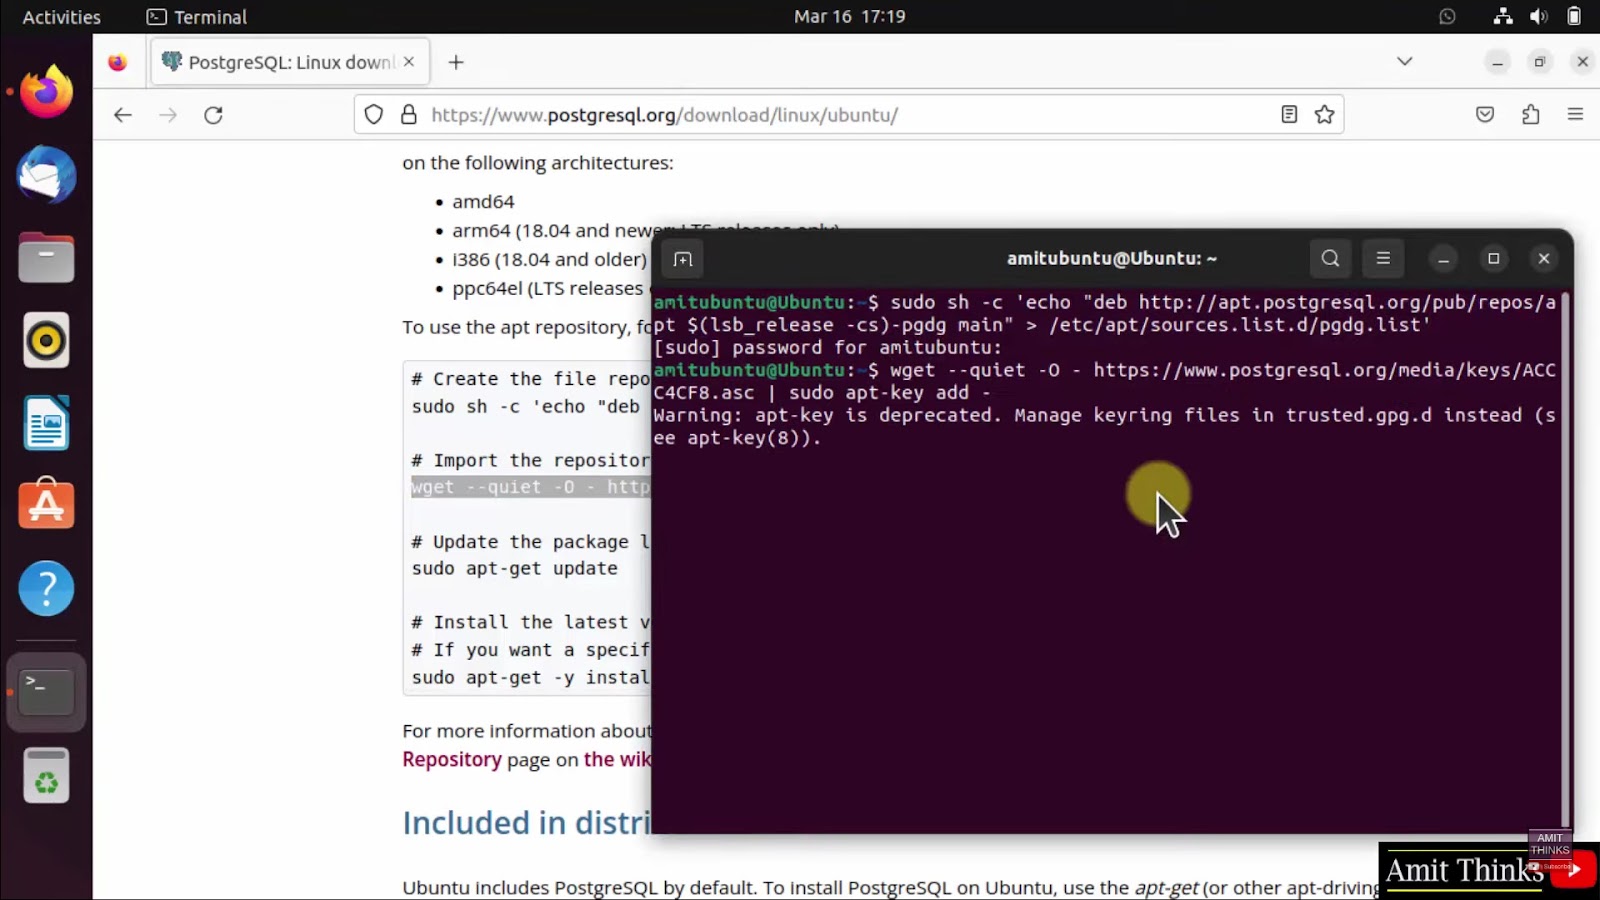
Ubuntu users are in luck because PostgreSQL is readily available in the official Ubuntu repositories. Here’s a step-by-step guide to getting PostgreSQL up and running on your Ubuntu system:
Step 1: Update the Package List
Before diving into installation, it’s always a good practice to ensure that you have the latest information about available packages. Open your terminal and execute the following command:
sudo apt updateStep 2: Install PostgreSQL
Now that your package list is up to date, proceed with installing PostgreSQL:
sudo apt install postgresqlStep 3: Check the PostgreSQL Status
After installation, PostgreSQL should start automatically. To confirm its status, use this command:
sudo systemctl status postgresqlInstalling PostgreSQL on CentOS
CentOS users can also harness the power of PostgreSQL through their official repositories. Here’s a detailed guide to installing PostgreSQL on CentOS:
Step 1: Update the Package List
Keep your system updated by refreshing the package list first:
sudo yum updateStep 2: Install PostgreSQL
Now, install PostgreSQL along with its contrib package:
sudo yum install postgresql-server postgresql-contribStep 3: Initialize and Start PostgreSQL
Set up the PostgreSQL database and ensure it starts automatically on boot with these commands:
sudo postgresql-setup initdb

sudo systemctl start postgresql

sudo systemctl enable postgresql
Installing PostgreSQL on Debian
Debian users have access to PostgreSQL through their official repositories, making installation straightforward. Here’s how to do it on Debian:
Step 1: Update the Package List
Begin by refreshing your package list to get the latest information:
sudo apt updateStep 2: Install PostgreSQL
Install PostgreSQL and the contrib package:
sudo apt install postgresql postgresql-contribStep 3: Verify PostgreSQL Status
Just like with Ubuntu, PostgreSQL should start automatically after installation. Double-check its status:
sudo systemctl status postgresqlHow to Install Postgresql on Linux While Configuring for Optimal Performance and Security?
Once you have successfully installed PostgreSQL, the next crucial step is configuring it to meet your specific requirements and ensure optimal performance and security. In this comprehensive guide, we will walk you through the essential configurations, including creating a new PostgreSQL user and database, setting a secure password for the user, and offering valuable insights to help you get the most out of your PostgreSQL installation.
Creating a PostgreSQL User and Database
PostgreSQL comes with a default system user named “postgres.” However, creating a new PostgreSQL user and database tailored to your application’s needs is a common practice. Here’s how to do it:
1. Switch to the “postgres” User
To begin, switch to the “postgres” user to gain administrative privileges:
sudo -i -u postgres2. Create a New PostgreSQL User
Now, let’s create a new PostgreSQL user. Replace <username> with your desired username. Using the createuser command, you can interactively set permissions for the user:
createuser --interactive --pwpromptDuring this interactive process, you can choose to make the user a superuser, allow them to create databases, and more, depending on your project’s requirements.
3. Create a New PostgreSQL Database
With the user in place, it’s time to create a dedicated database for your application. Replace <dbname> with your desired database name and <username> with the user you’ve just created:
createdb <dbname> -O <username>This command establishes the user as the owner of the database, granting them full control over it.
By creating a custom PostgreSQL user and database, you gain better control over access and permissions, enhancing the overall security and manageability of your system.
Setting a Password for the PostgreSQL User
Securing your PostgreSQL user with a strong password is paramount to protect your data and system integrity. Here’s a step-by-step guide on how to set a password for the PostgreSQL user you’ve created:
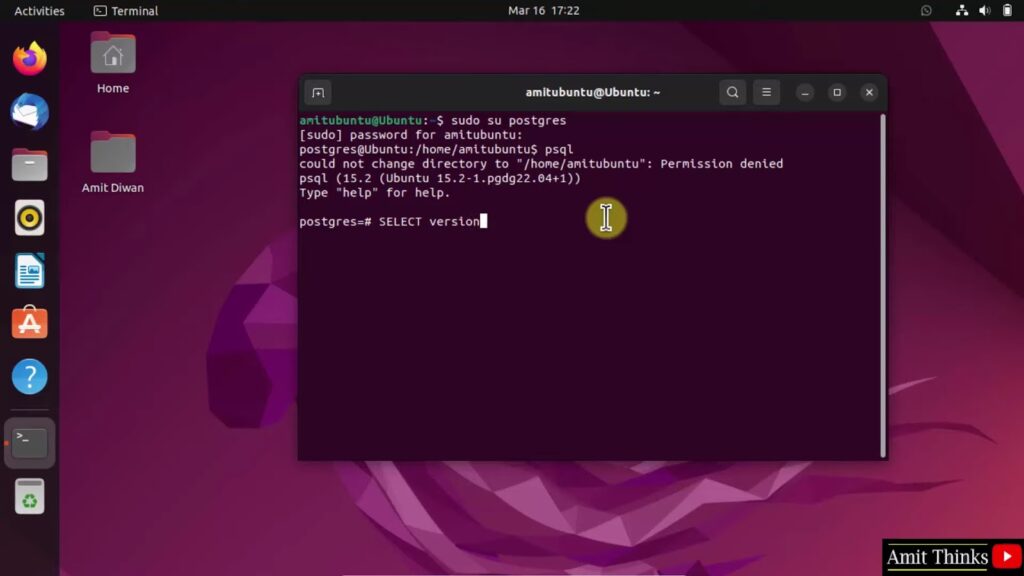
1. Access the PostgreSQL Prompt
Launch the PostgreSQL prompt using the following command:
psql2. Set a Password for the User
Now, set a robust password for the user. Replace <username> with your PostgreSQL username and <password> with the desired strong password:
ALTER USER <username> PASSWORD '<password>';Choosing a complex password with a combination of letters, numbers, and special characters is crucial for security.
3. Exit the PostgreSQL Prompt
After setting the password, exit the PostgreSQL prompt to complete the process:
\q
By following these steps, you’ve ensured that your PostgreSQL user is protected with a secure password, reducing the risk of unauthorized access to your database. It’s a fundamental step towards safeguarding your data and maintaining the integrity of your PostgreSQL system. Read about the easiest way to install Yum on Linux and supercharge your package management today!
How to Install Postgresql on Linux: Unlocking the Power of PostgreSQL with psql
PostgreSQL, one of the most robust and versatile relational database management systems, offers a wealth of capabilities for handling your data needs. To harness its full potential, you’ll need to access it effectively. Fortunately, the psql command-line tool is your key to unlocking the treasure trove of PostgreSQL features.
Here, we’ll dive deep into accessing PostgreSQL using psql, covering not only the basic syntax but also a plethora of tips and insights to make your database journey smoother and more productive.
Basic Access Syntax
To access your PostgreSQL database with psql, you’ll use the following command:
psql -U <username> -d <dbname>Now, let’s break down this command and explore additional nuances:
- U <username>: Replace <username> with your specific PostgreSQL username. This flag ensures that you’re connecting with the correct credentials;
- <dbname>: Substitute <dbname> with the name of your PostgreSQL database. This tells psql which database to connect to.
Tips for Effective PostgreSQL Access
Secure Your Connection: PostgreSQL allows you to specify additional connection parameters, such as host and port, for added security and flexibility. Use the -h and -p flags to define the host and port, respectively.
psql -U <username> -d <dbname> -h <hostname> -p <port>Password Authentication: For enhanced security, PostgreSQL prompts for a password when connecting. Simply omit the -U flag and let psql prompt you for your password interactively.
psql -d <dbname> -h <hostname> -p <port>Customizing Prompt and Settings: Tailor your psql experience by customizing your prompt and session settings. Use the -c flag followed by a SQL command to set session-specific options.
psql -U <username> -d <dbname> -c "SET search_path TO public;"Script Execution: Execute SQL scripts from a file with the -f flag. This can be particularly useful for batch operations or automating database tasks.
psql -U <username> -d <dbname> -f script.sqlInteractive Mode: Enter interactive mode by simply running psql without any arguments. This allows you to execute SQL commands and queries directly in the terminal.
psql